
DIY accent wall for under $40
Needs:
If you already have the tools and the paint, this is all you need! Skip the saw and get it cut at Home Depot for a little extra cost.
Total: $38.5
If you are missing any of the following, I suggest borrowing or renting to keep your cost down. Depending on how often you use these tools, you can get cheaper options at harbor freight that will still get the job done. For this, I will link what I used.
Pencil
Straight Edge ( I used an 8ft board)
Circle Saw (see if home depot will cut it for you)
Nail Gun (Not sure they have the same one still, but mine is from harbor freight)
Nail Gun Hose (Harbor Freight)
Nails ( I used 2"18ga for the top board and 1- 1/4 in. x 18ga for the battenboard)
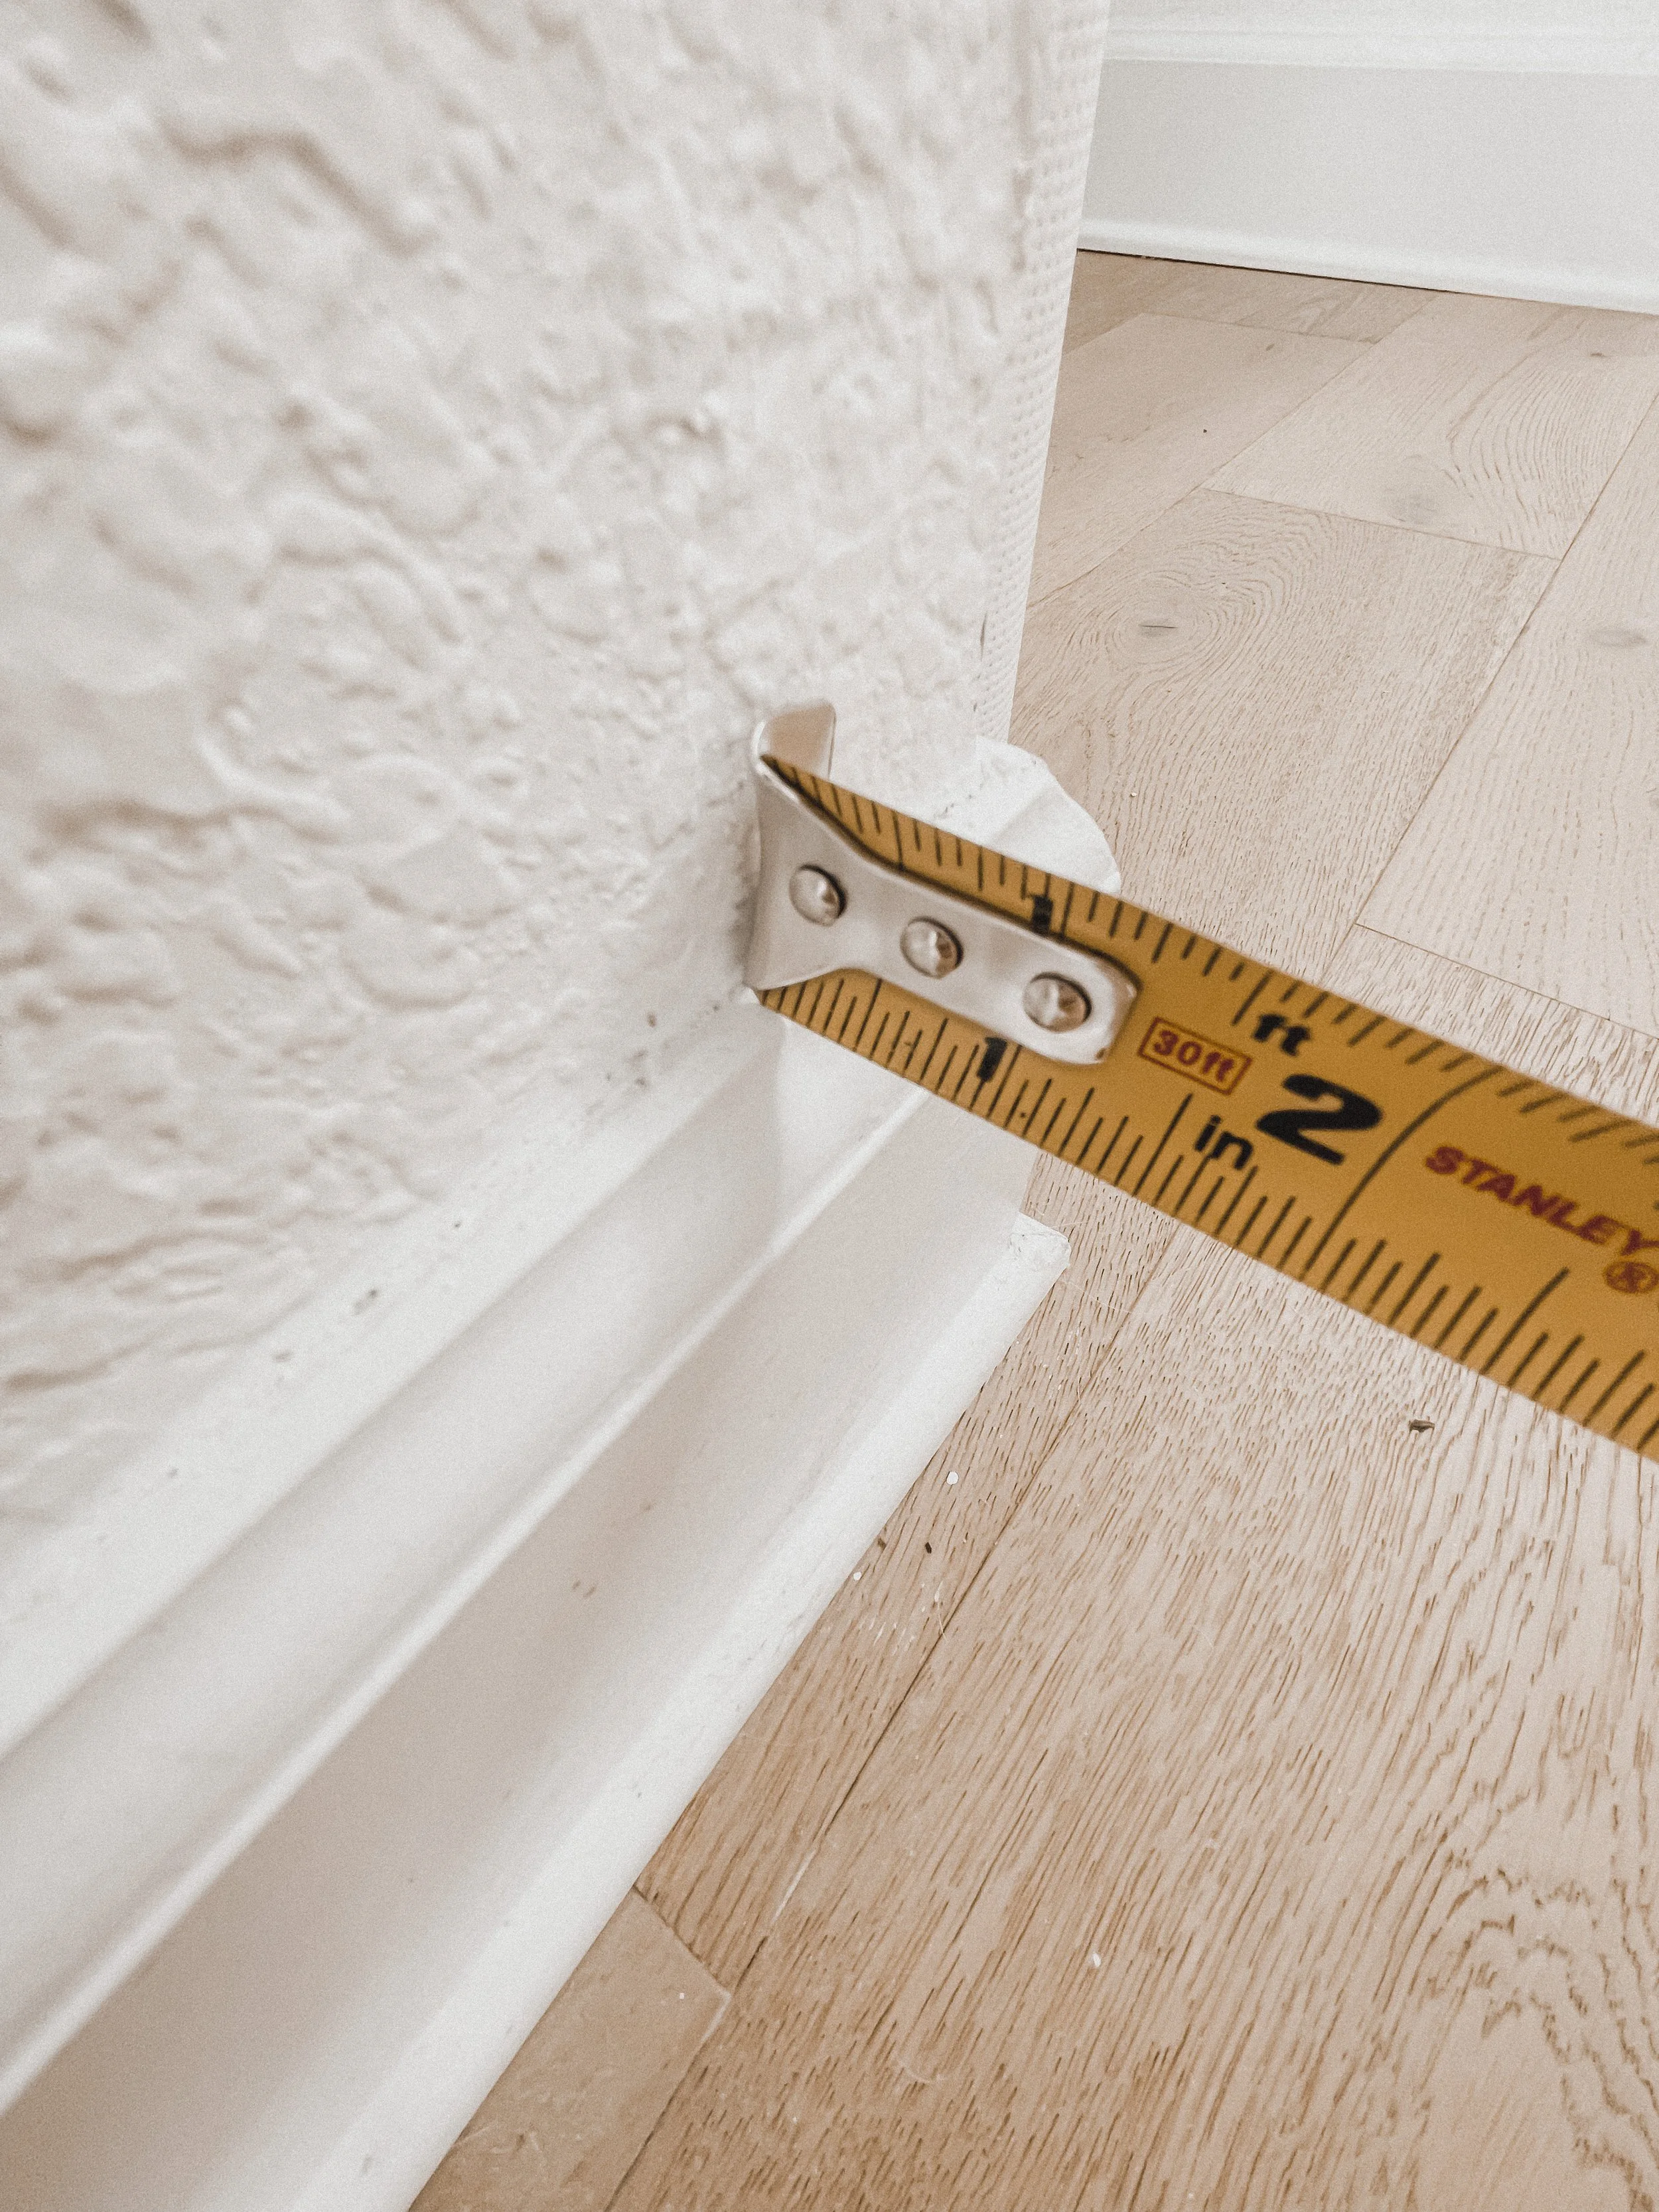
Tape Measure
Small Level
Paint (I went with Alpaca Blanket from Behr, and I only needed a quart)
Once you have your materials, grab your 1/8 4' x 8' tempered hardboard and your straight edge. Measure how wide and long you want your batten board to be. Mine was 4in wide by 51.5in long. The total height, including my baseboards, ended up being 61.5in, so just over 5ft.
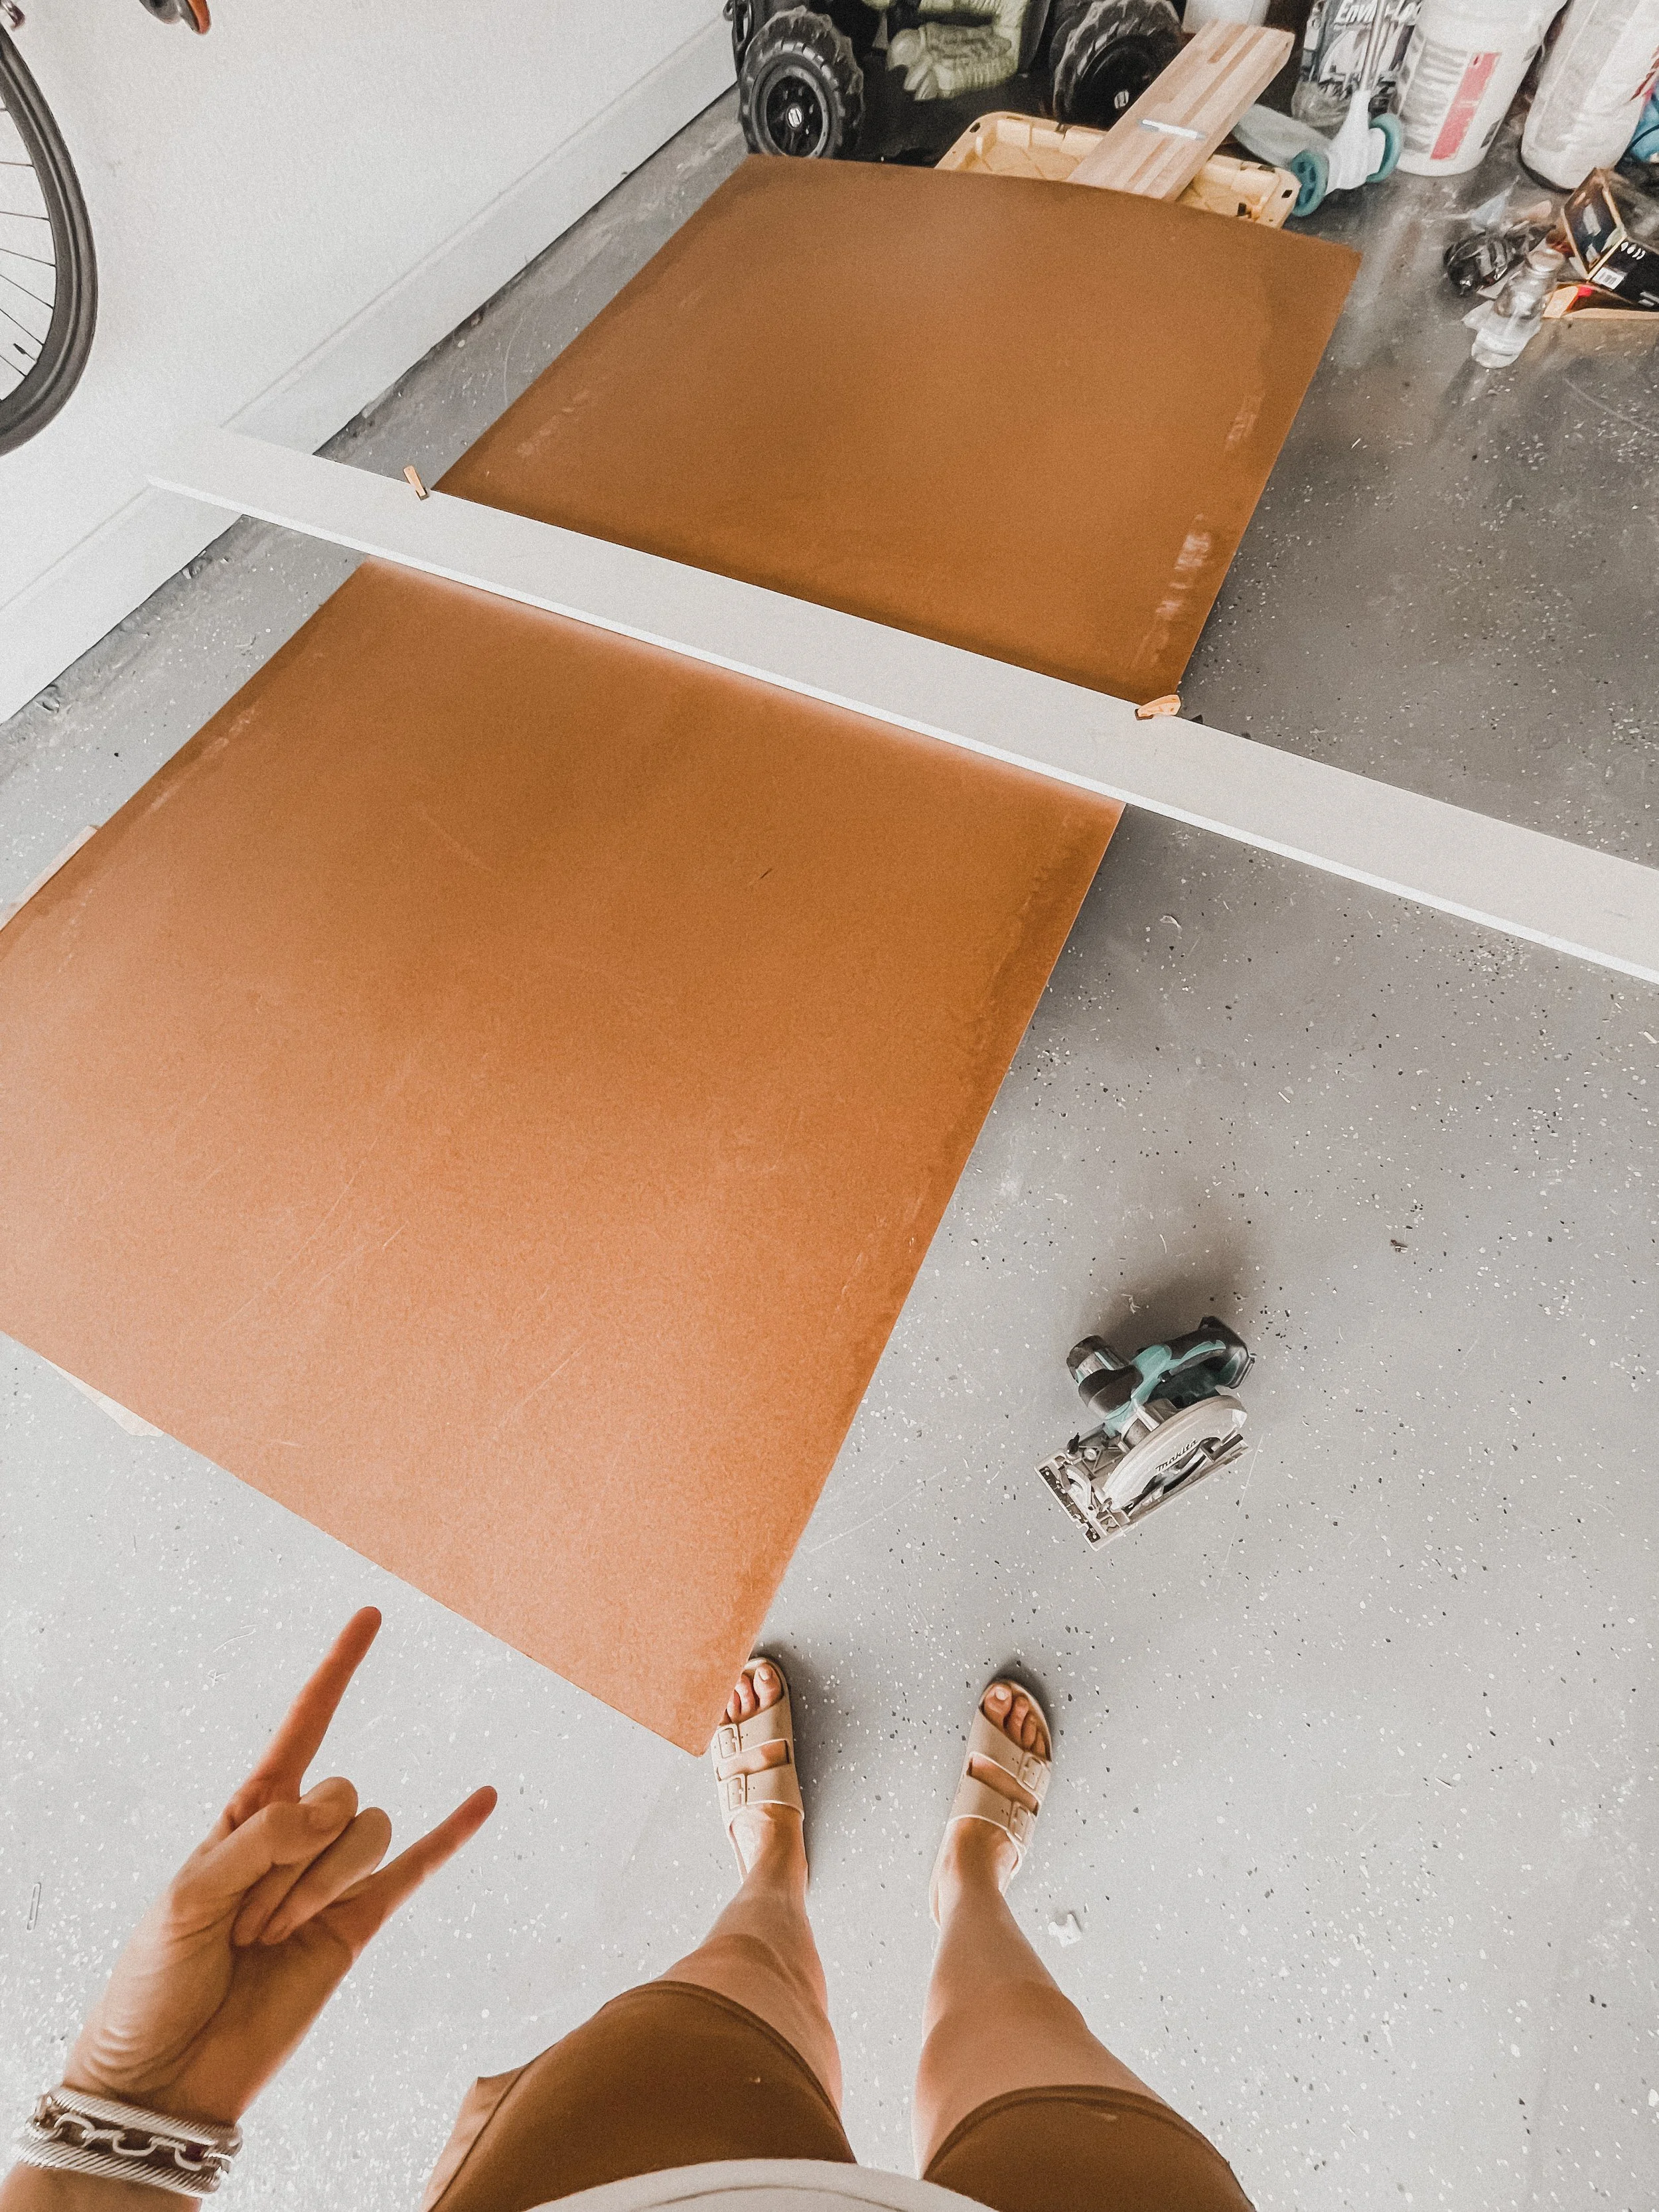
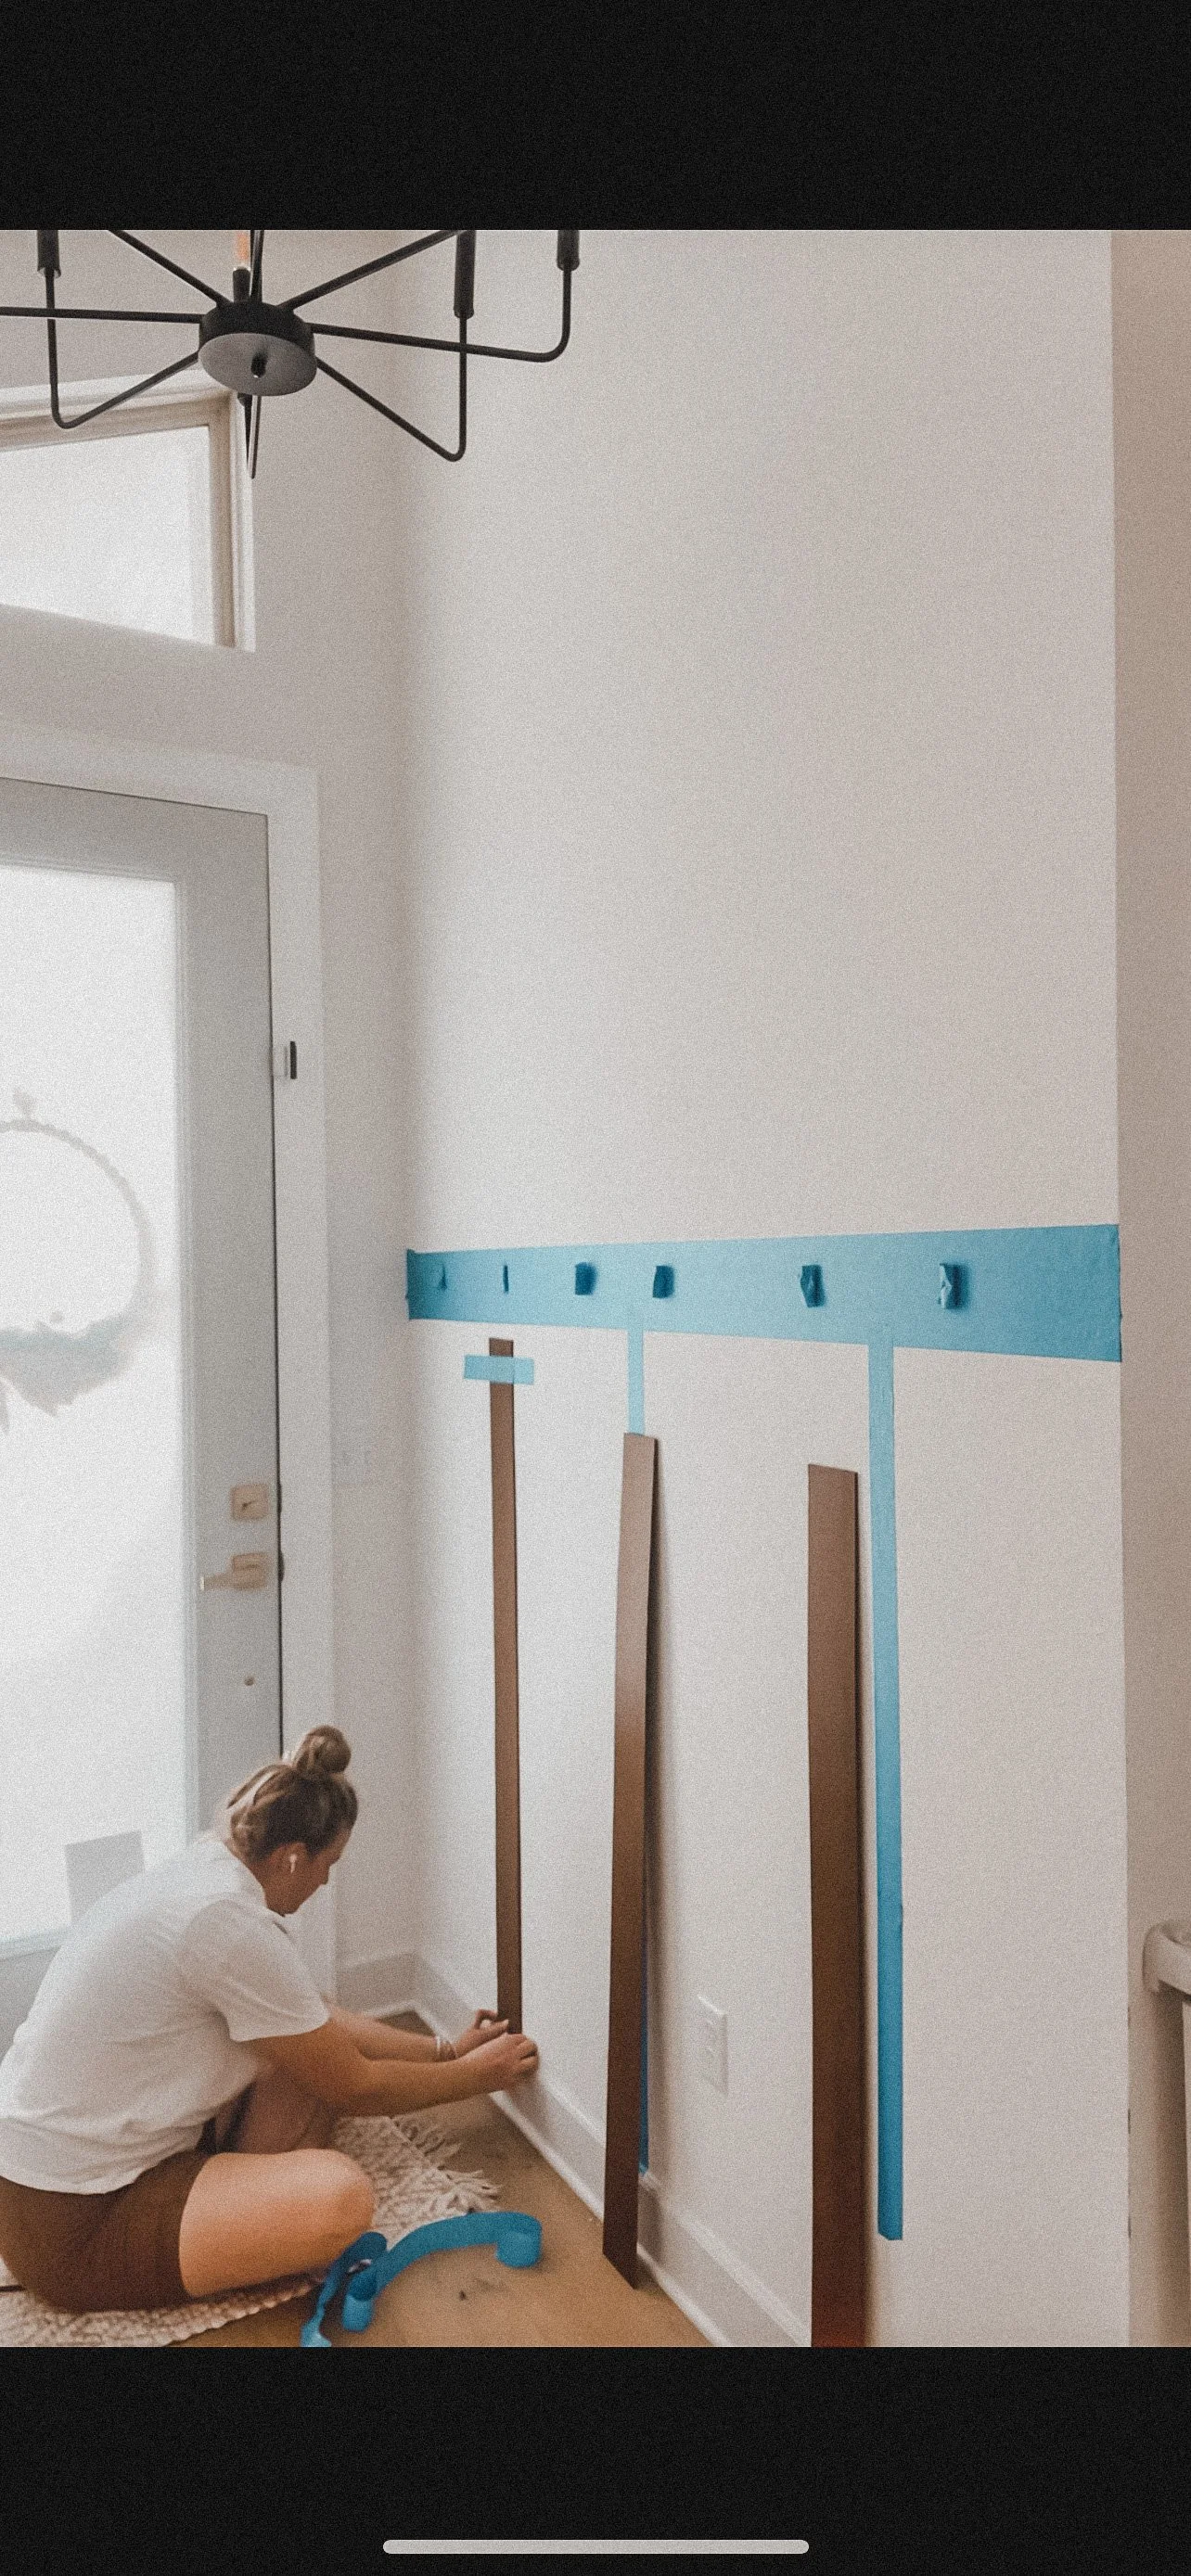
You can cut out as many of these pieces as you’d like, I suggest mapping it out in blue painters-tape first to get a feel for your space. I ended up just doing three.

Once you have your pieces cut, move on to the 1 x 6 -8ft primed fj s4s board. I only needed mine to be 76ins, so just over 6 feet. If your wall needs a longer board, they also offer them in 10’, or 12’ boards.
That’s it for cuts. Remember to measure twice, and cut once. You’ve got this!
Back inside, you can begin to prepare to affix your boards to the wall. keep in mind I choose the 1/8 4' x 8' tempered hardboard not just for the cost, but it also sits perfectly on my current baseboard.
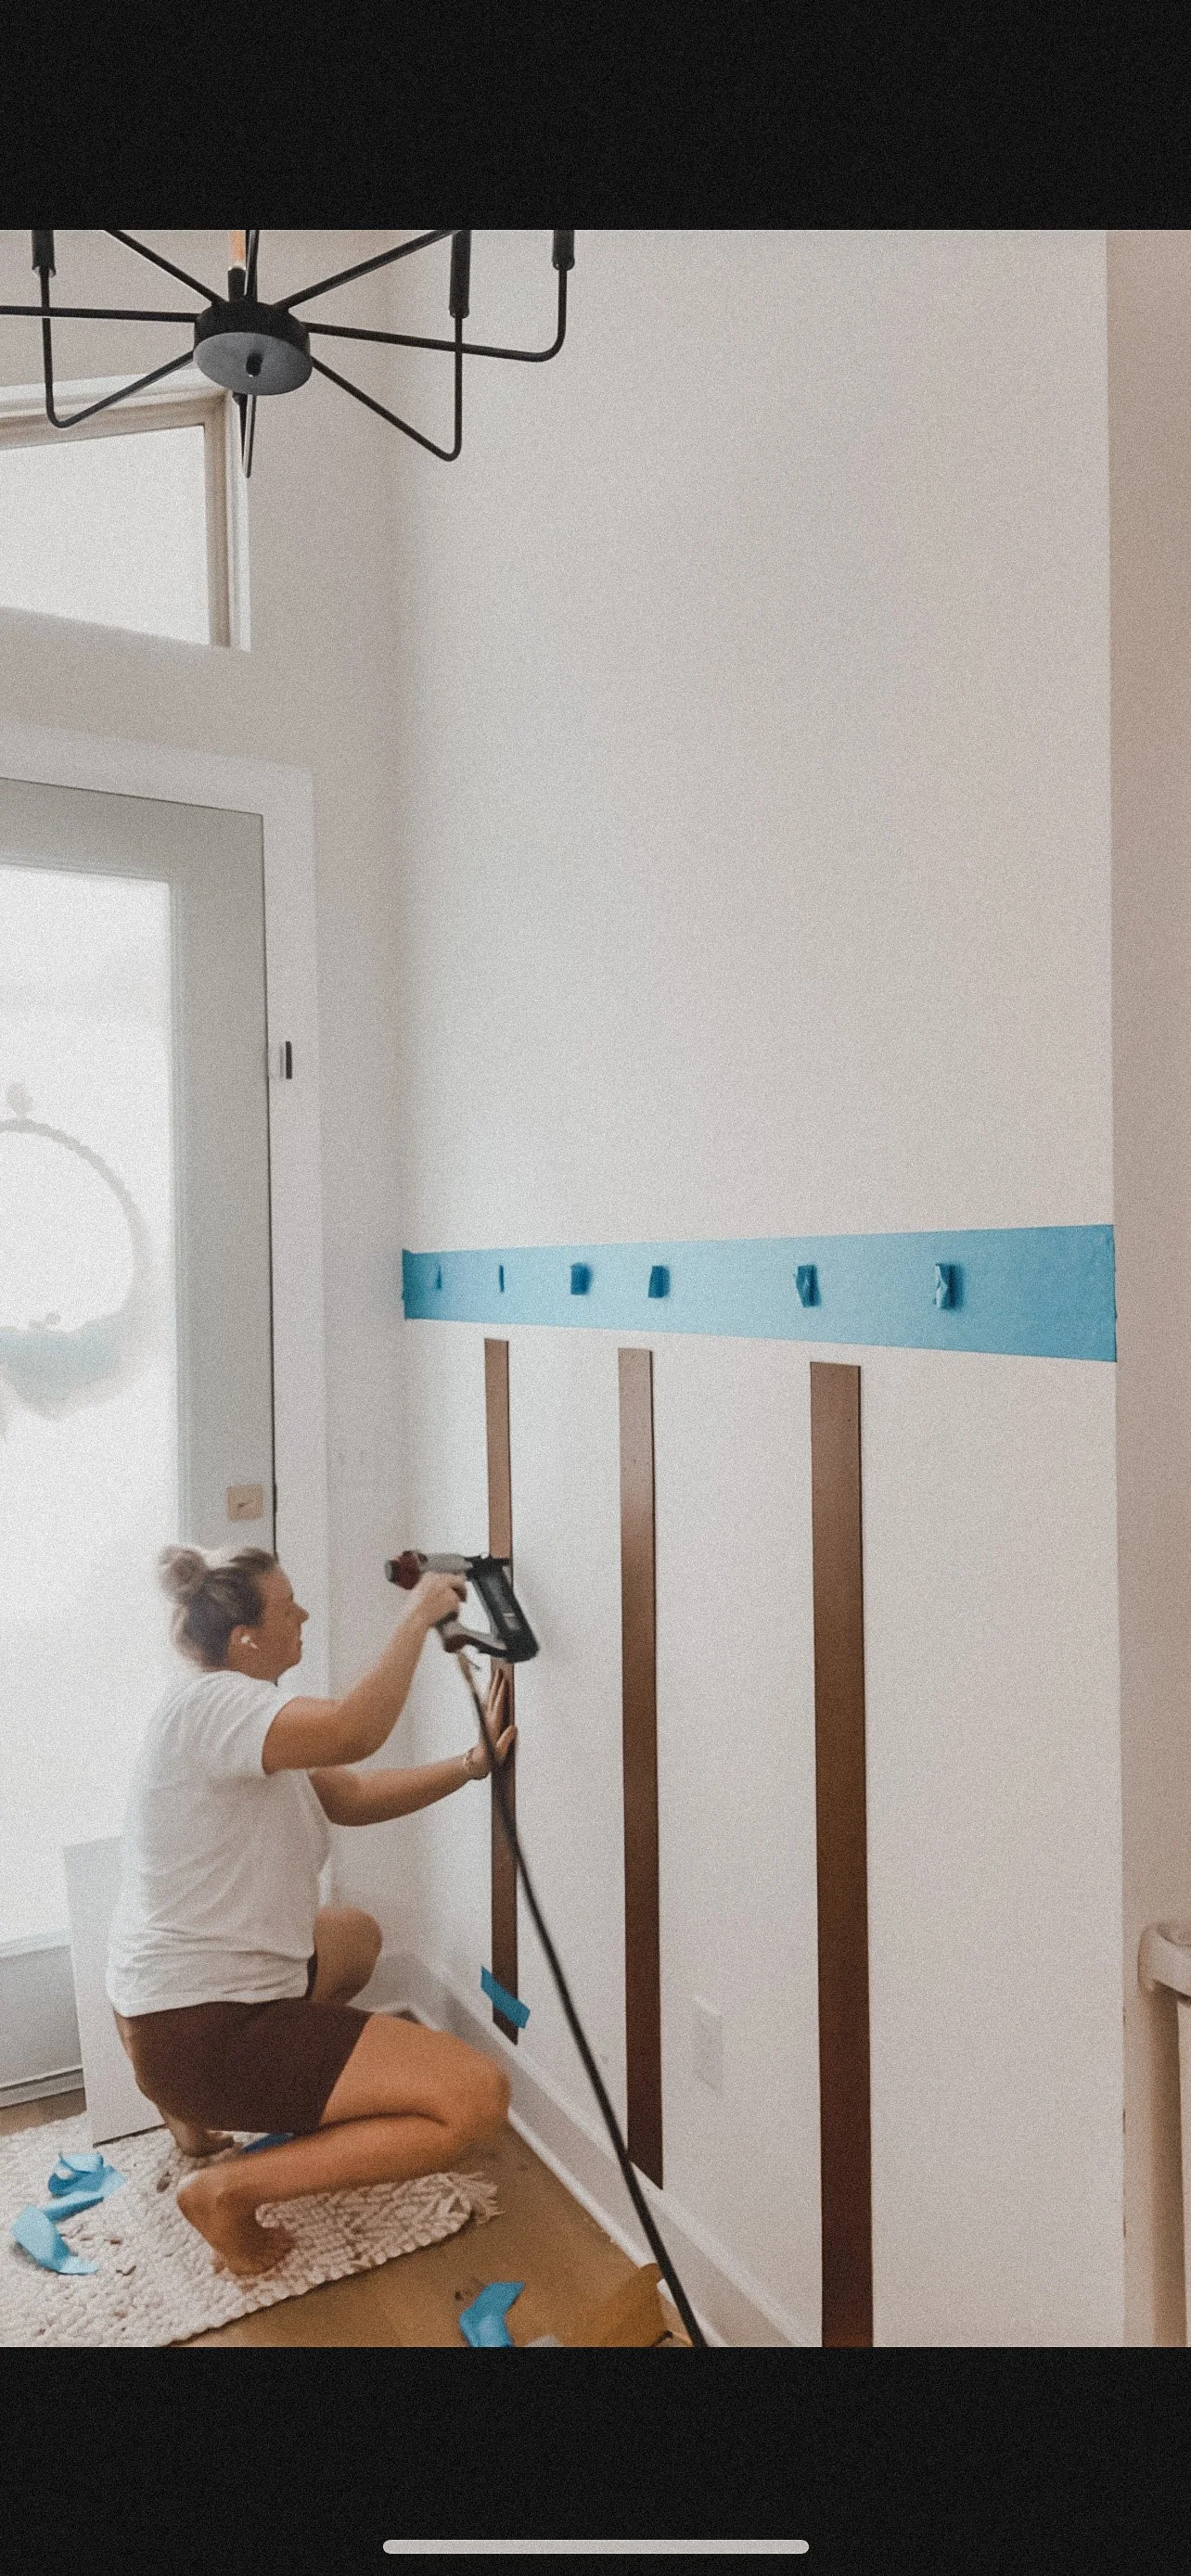
Measure the correct spacing for your wall and tape up the batten boards. Once they are laid out get your nail gun and air compressor ready. I grabbed the painter’s tape, leveled the sides and bottoms of the battenboard with my baseboards, and taped it in place.
Once they were all in place, I made sure to nail it in top first and work my way down to the bottom with my hand pressed down as I went. You want to be sure there is no air as you are going, so continue to use your hand to flatten it down as you move down the board.
After you have affixed all your batten boards, the next step is to get your top board leveled and taped up on your wall. I left my level on top of my board and used tape to just keep it relatively where it should be.
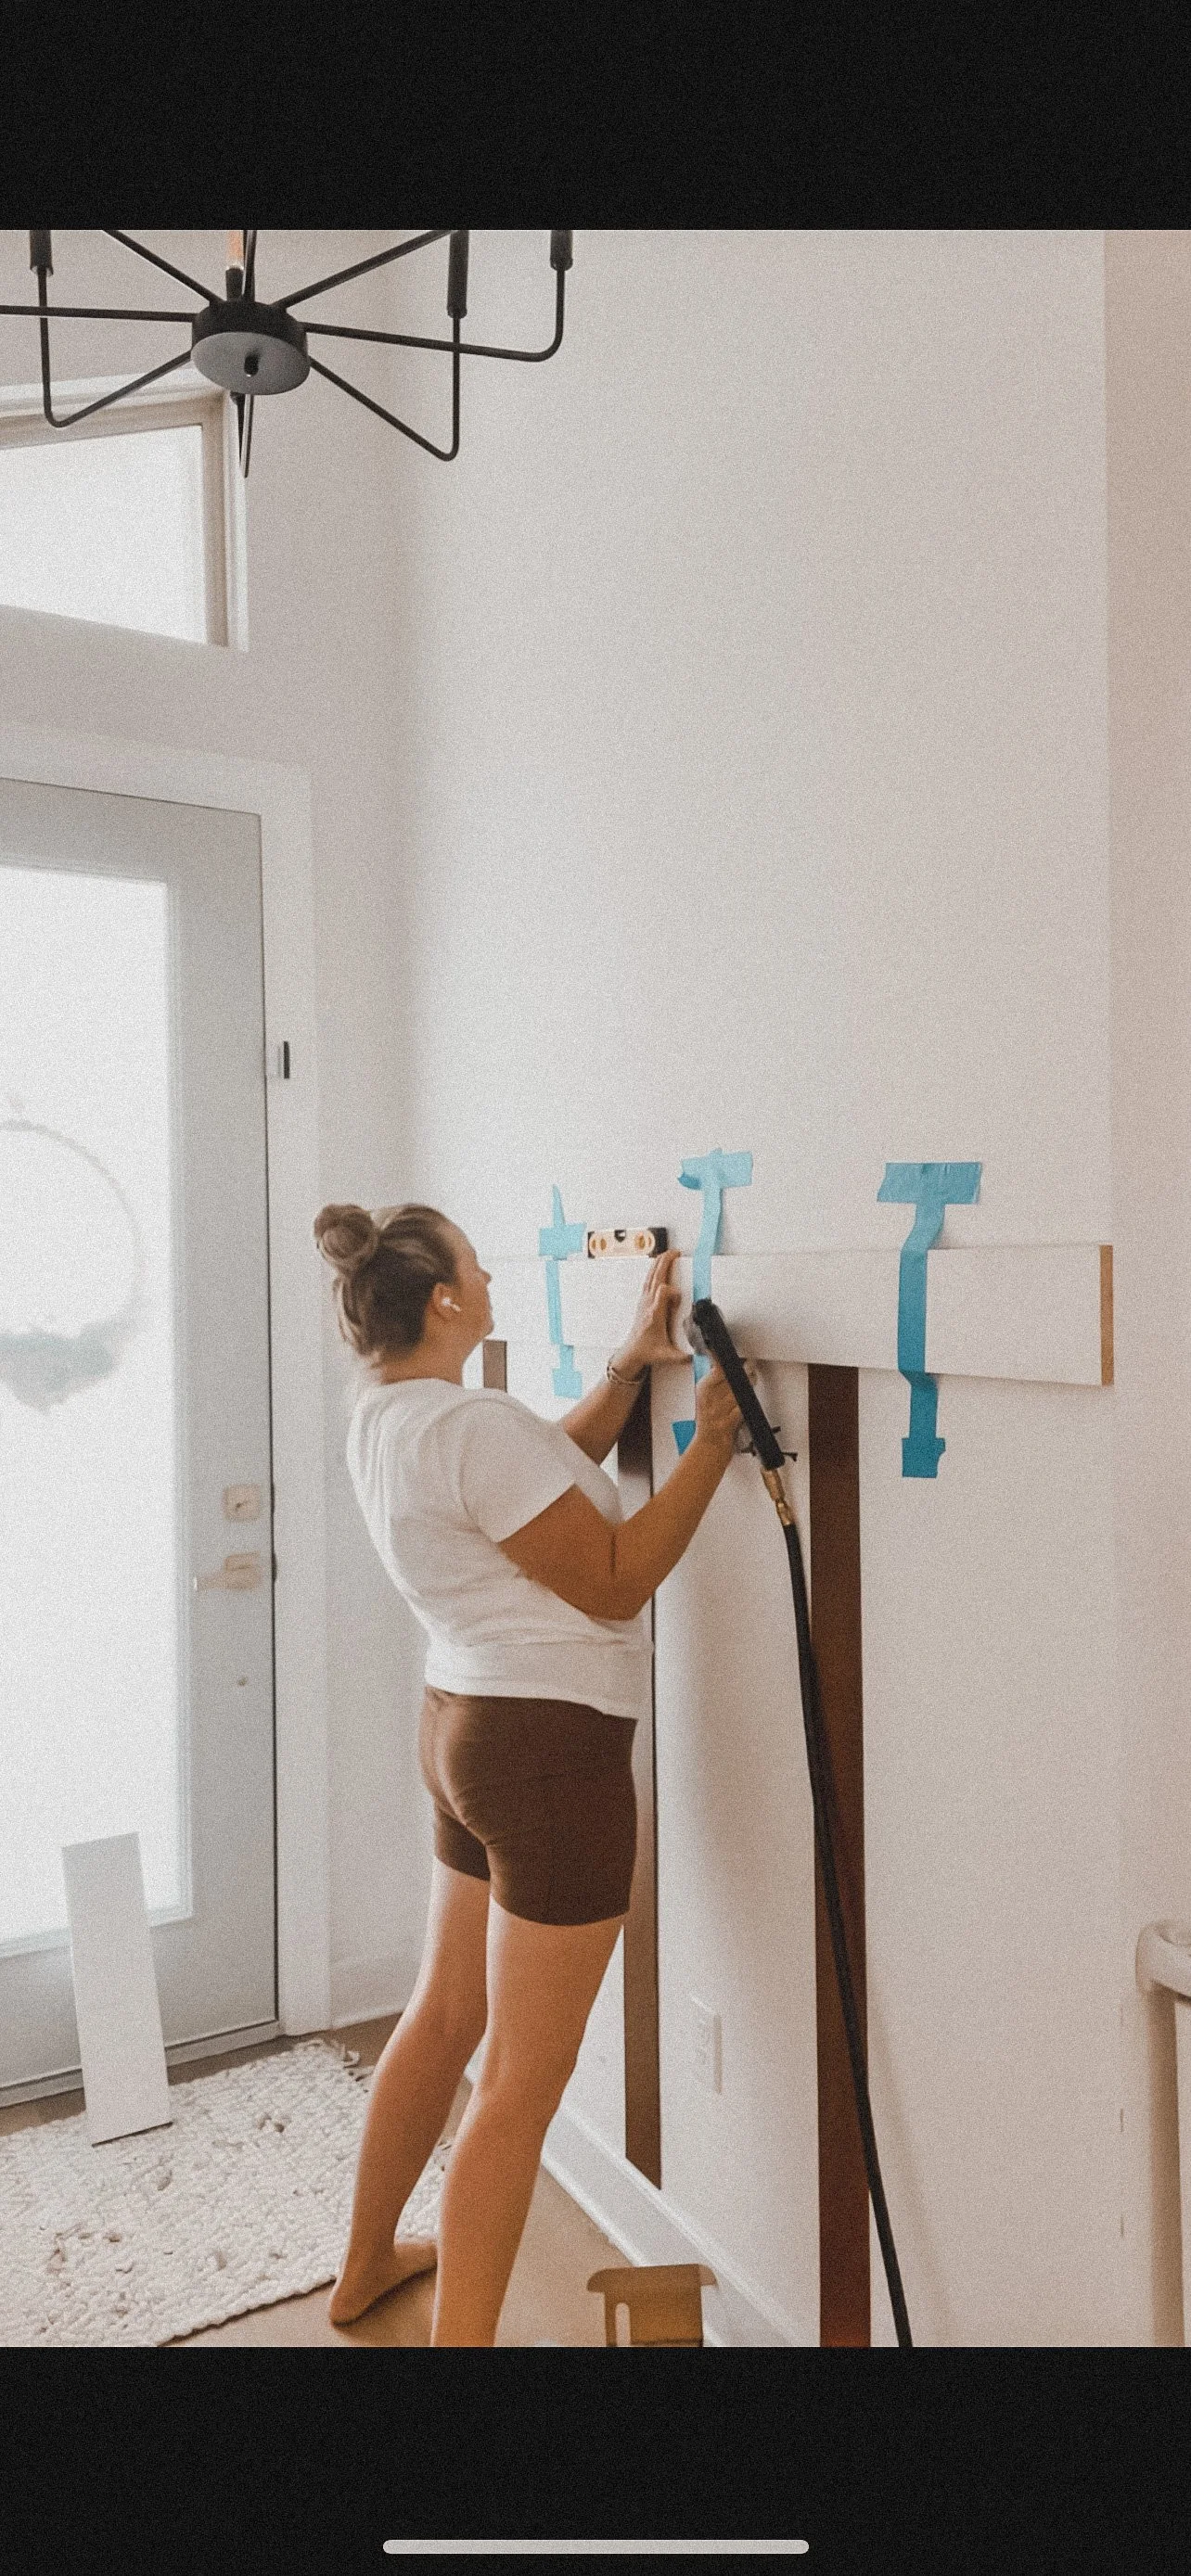
At this point, don’t worry too much if the tops of your batten boards aren’t perfect, That’s what caulk is for. Do be sure your top board is level.
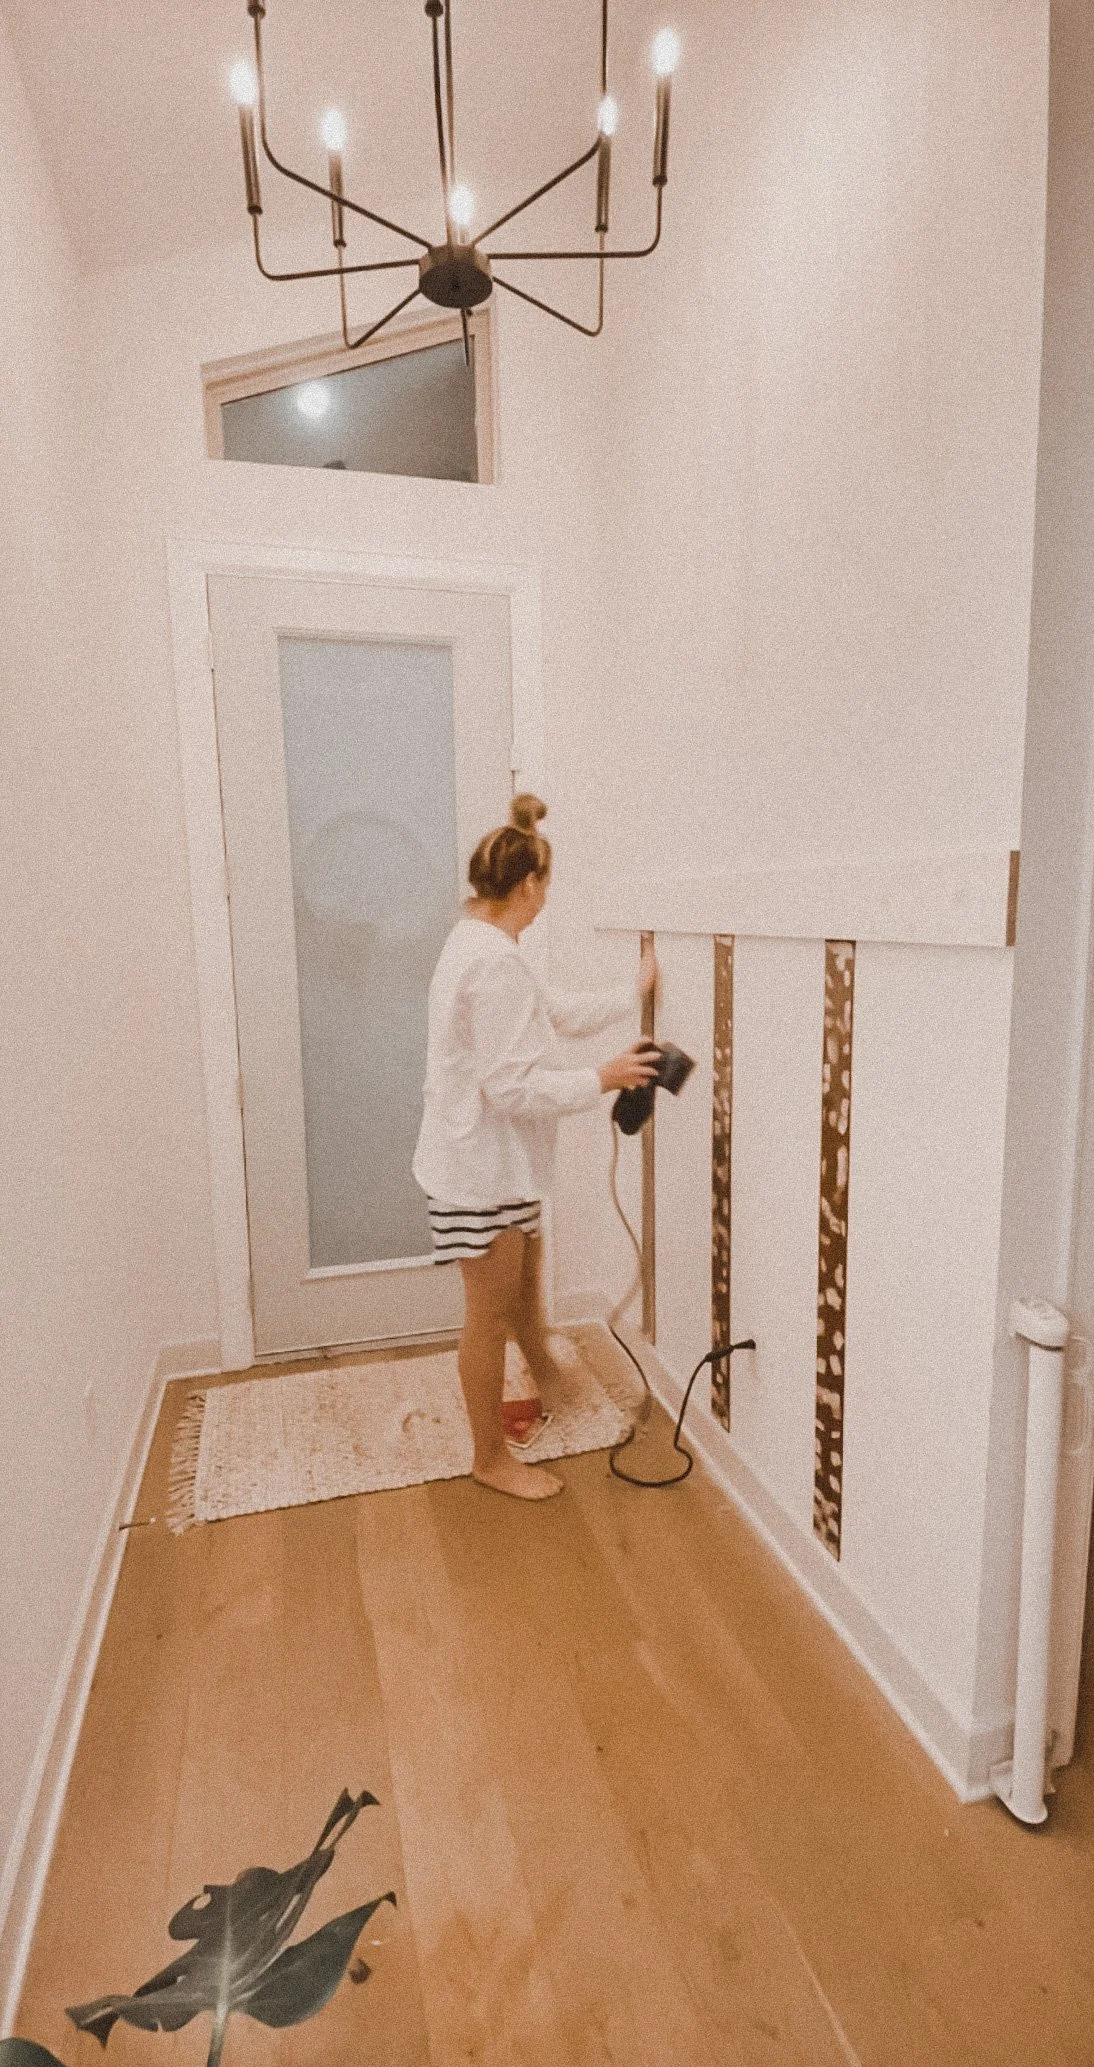
That’s it for the nail gun. For the most part, you are done with the hard stuff, congrats!
Everything should now be nailed in place on your wall and you’re ready to move on to the easy and fun stuff.
Grab your wood filler and putty knife and fill all the lovely nail holes you just made. Get this right so they aren’t visible after you paint. Trust me, it sucks if you rush this part.
After it drys, grab your sander and sand down everything you just filled. Make sure it feels smooth and level. If you need to, go back and repeat this process a few times.
Once you feel you’ve gotten it smooth enough, it’s time for caulking. Grab your caulk and do all the sides of all your boards. This gives you a nice clean finish. Let it dry, and then it’s time for paint!
GOSH, PAINT!
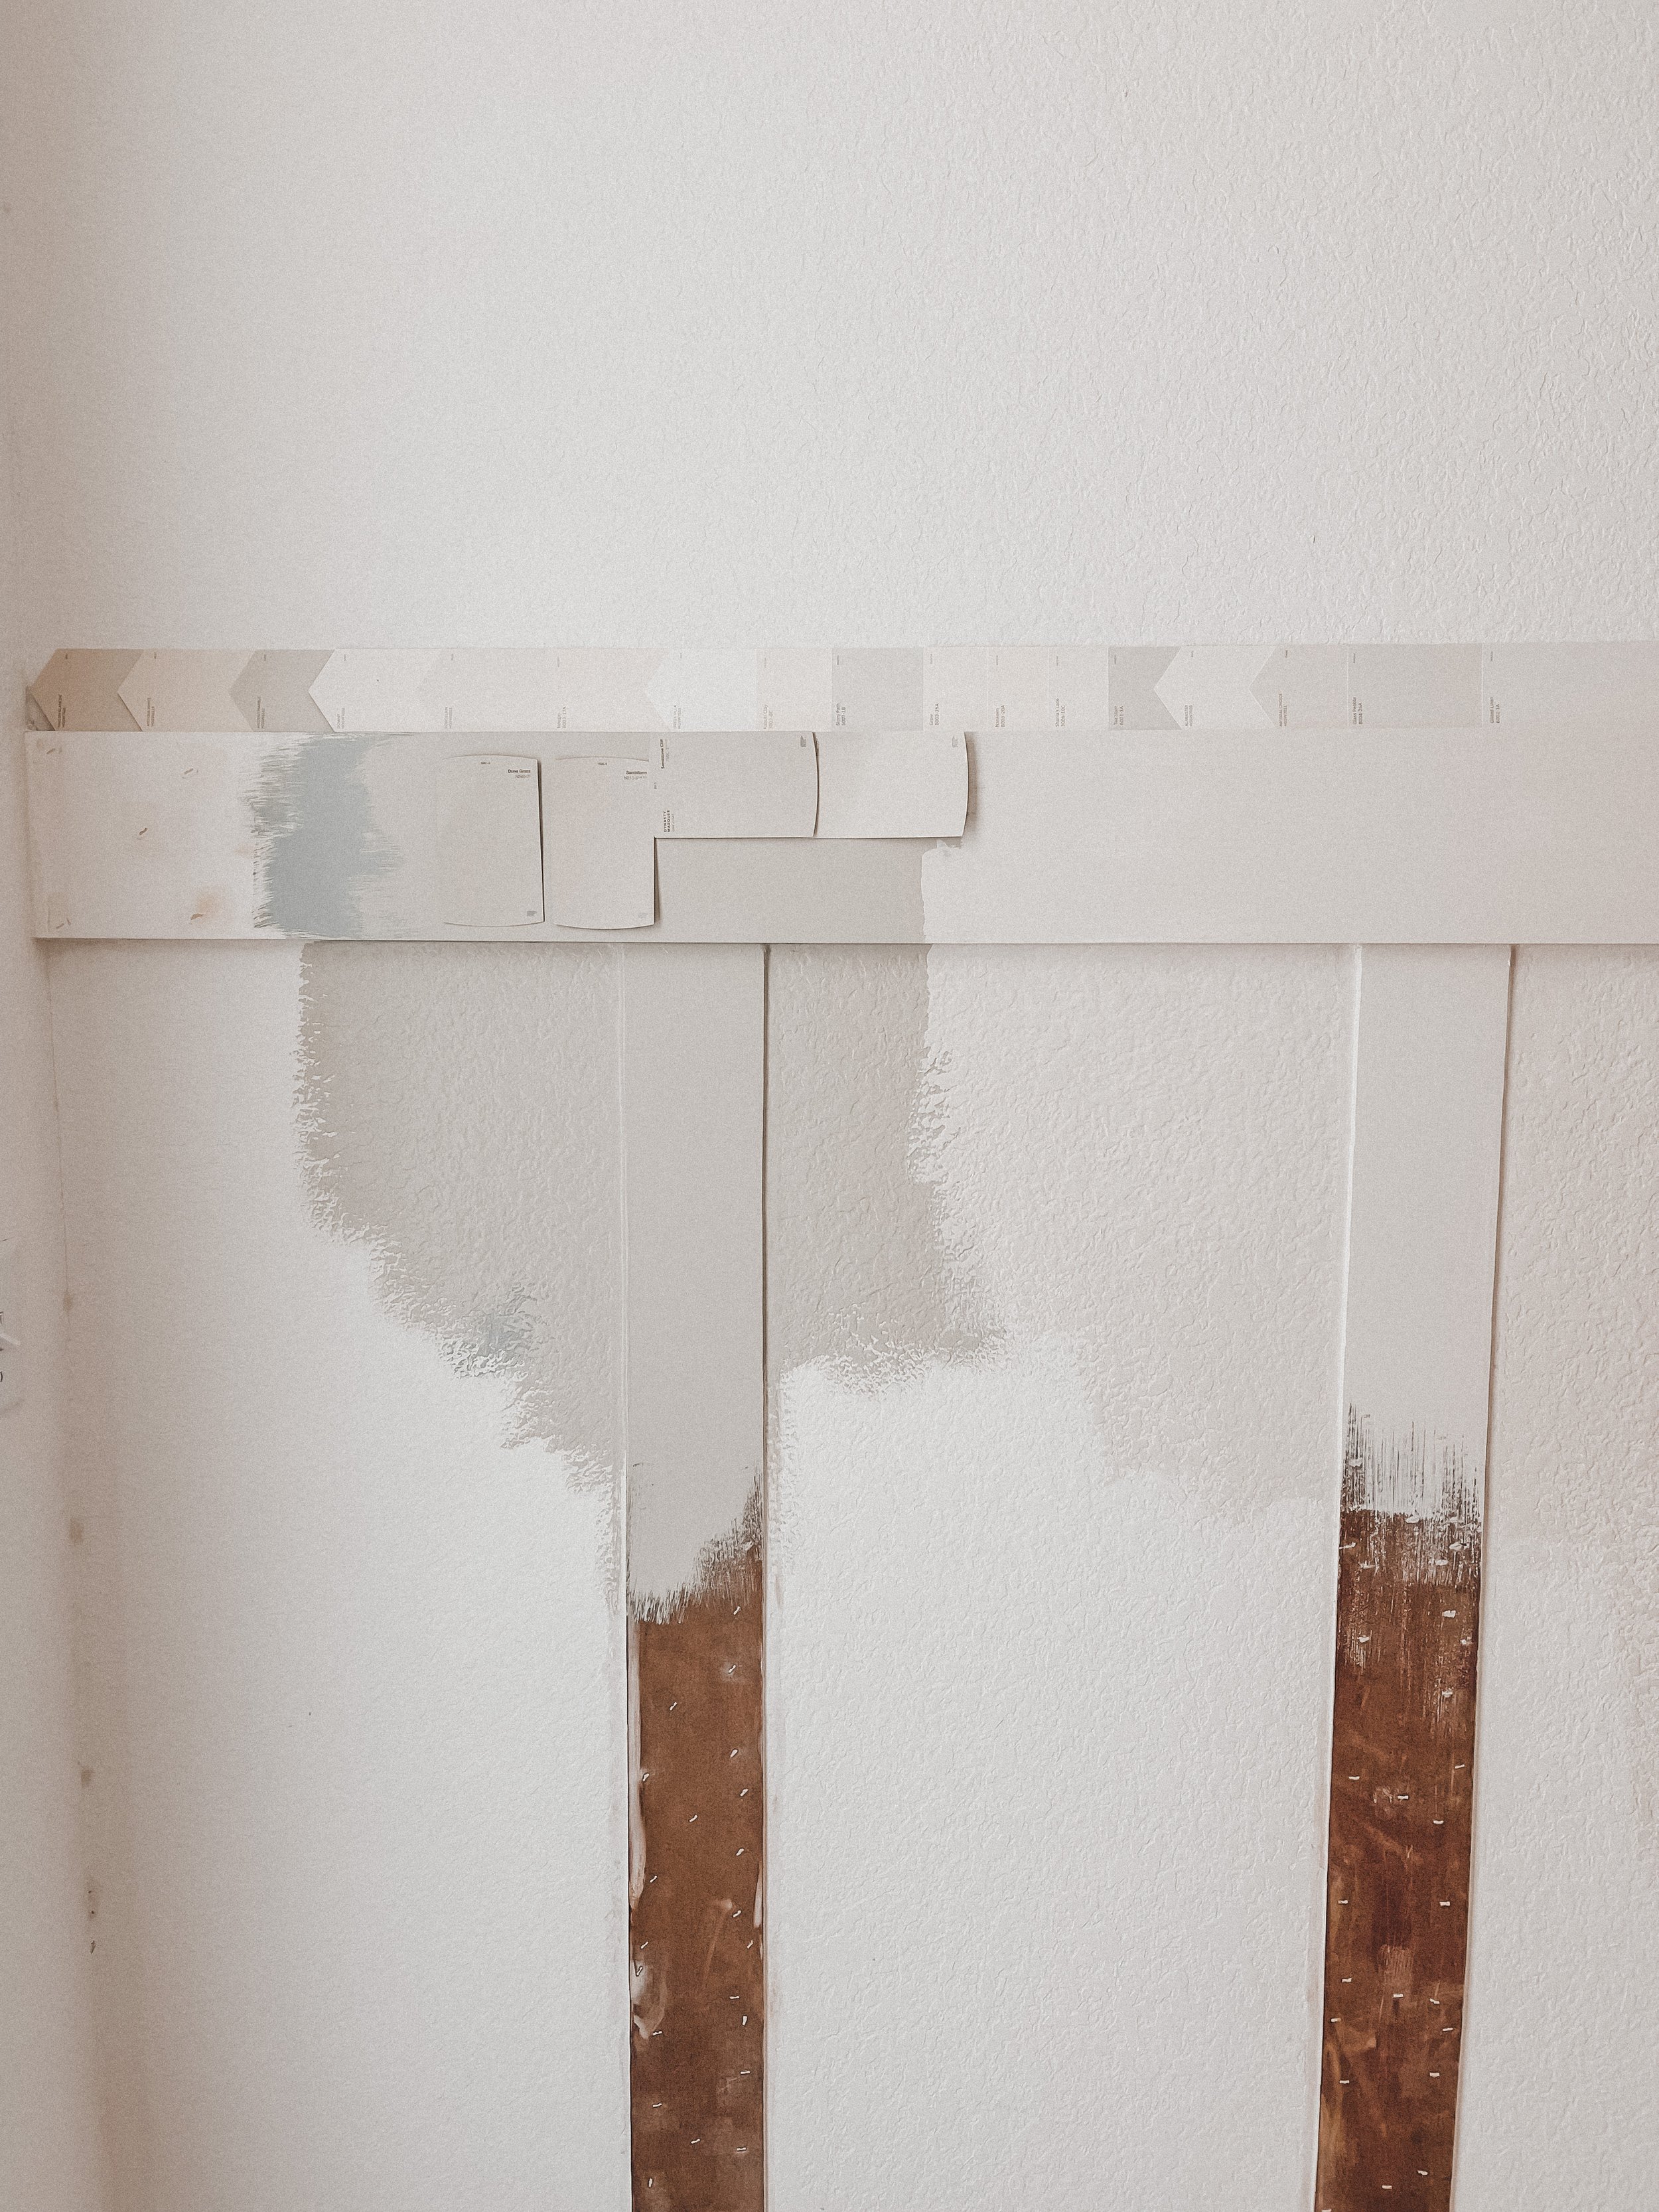
This is one of my favorite and least favorite parts. On one end you are so close to the finish line and on the other, paint can make or break your look. I can’t even tell you how many samples I went through to get the one I got. A gross amount I tell you, AND two stores. I am very obsessed with color and can see it differently as a painter. It’s a blessing mostly, but I am anal when it comes to color. To save you the trouble, I was looking for a specific tan color, and this is what I landed on: Alpaca Blanket. It helped to also place my hardware on the swatches to see want tones looked best with gold.
My best advice for both designer-minded and non, grab all your samples, lay them on your wall, and see how they look in both day and night. At the store, a great way to see the colors better is to grab a pure white swatch and compare everything to that. You’ll be surprised by what you start to see.
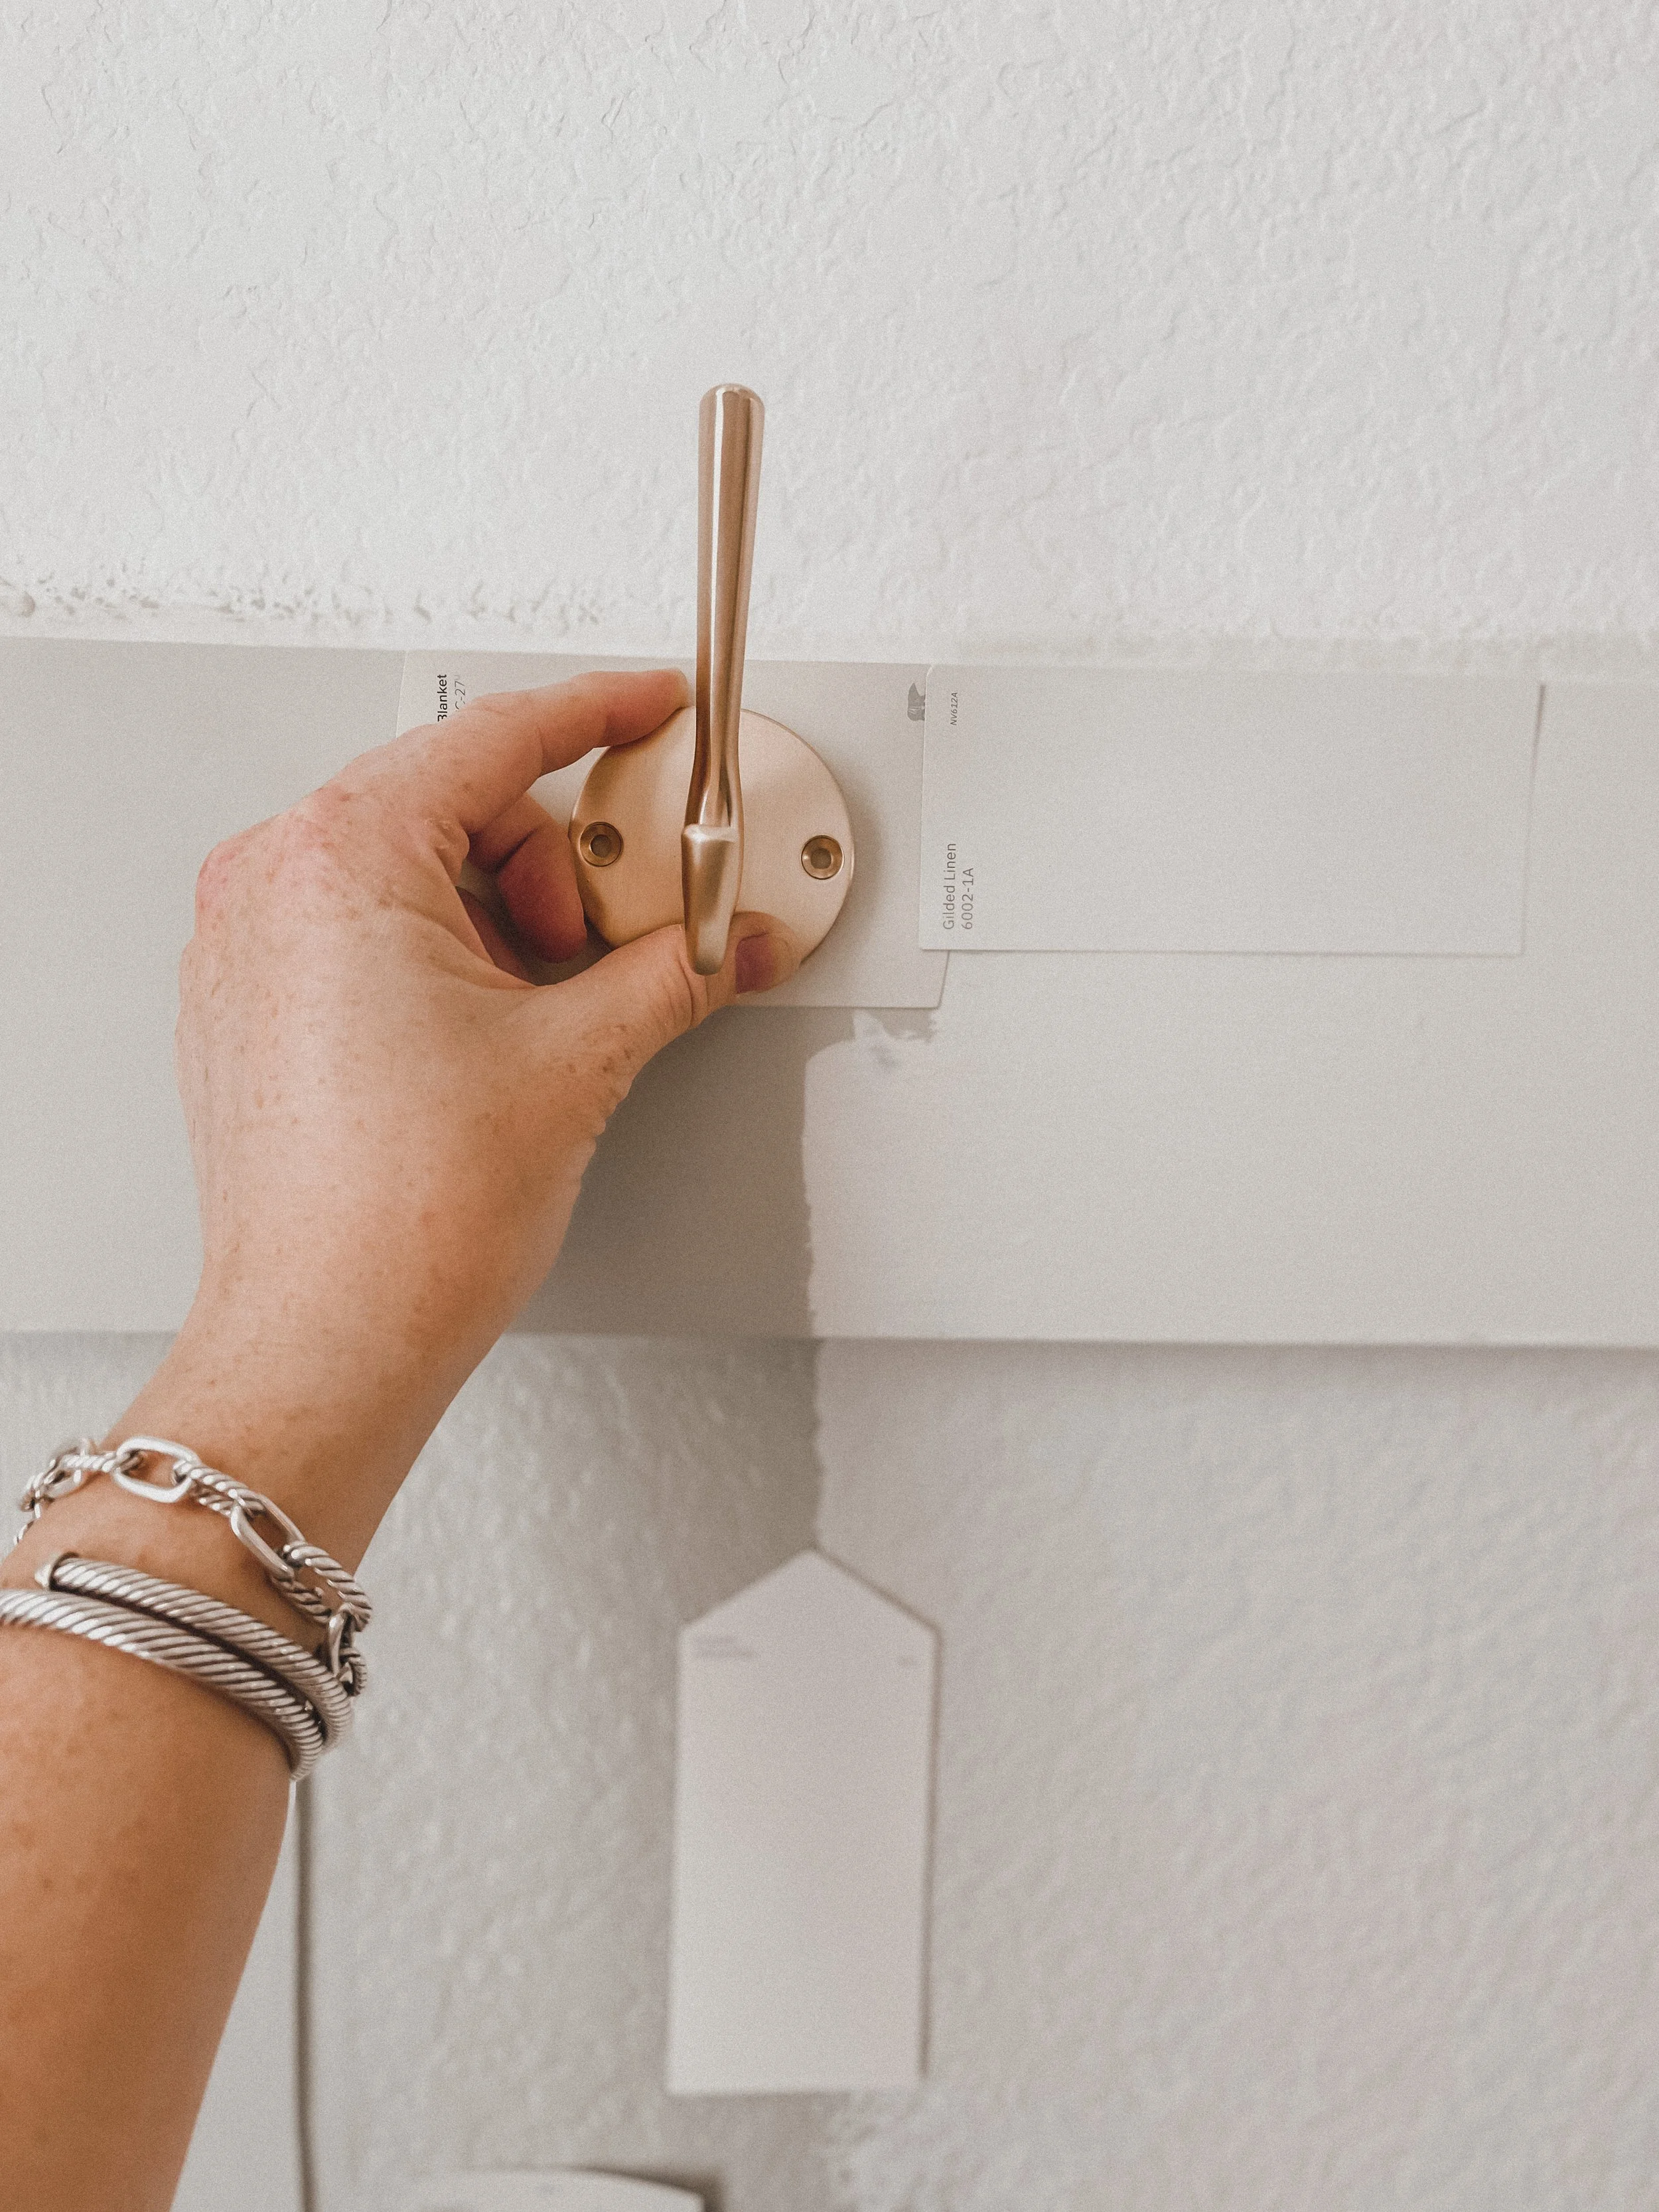
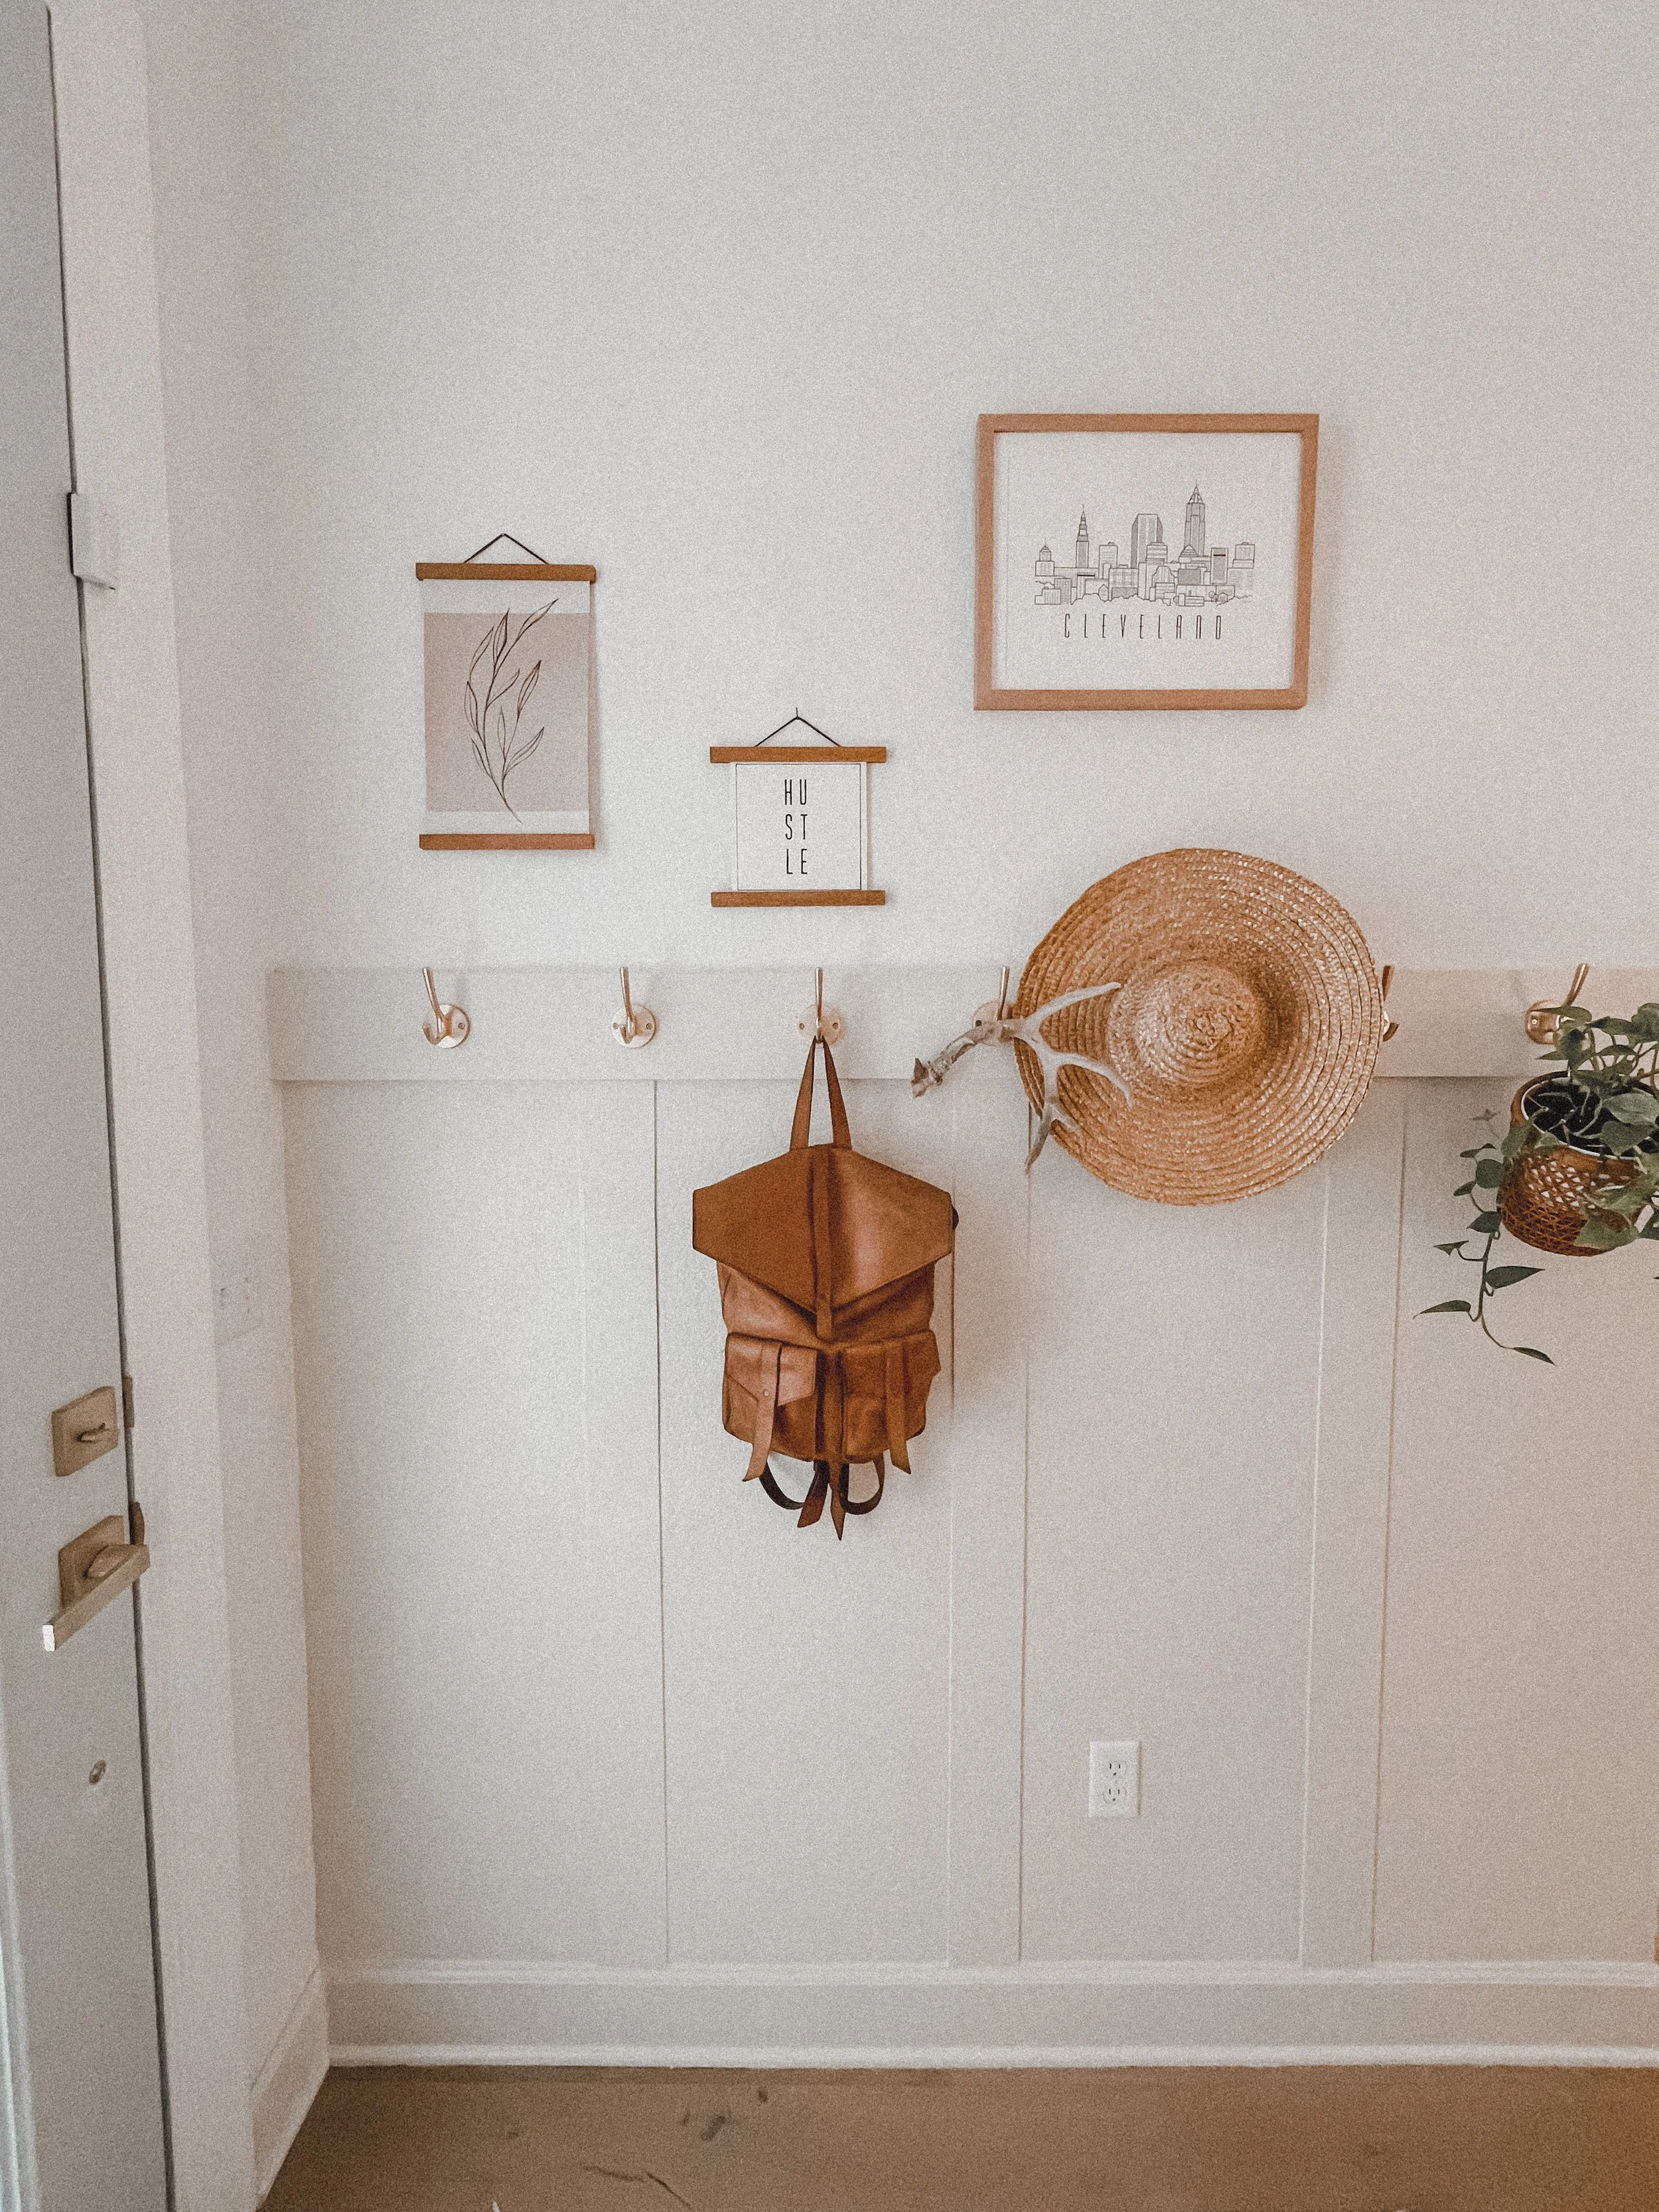
My friend, If you’ve made it this far that that means your paint is dry, and next up is the hardware of your choice. I went with the gold ones that I found here. They come in black too. You can decide on whatever spacing and amount of hooks suit your wall. A good rule of thumb would be, base this on whatever objects will primarily be hung there.
Oh my, stand back and look at want you created! You’re amazing! See, I knew you could do it! Let’s get to the fun stuff. Decorating. I like giving space for organic things to live here because that is why I made it after all, but I think it’s so nice to create a moment rather than just a practical space. Things that help to achieve this goal are YOU. Your life, pieces of you. Me, I am always down for a good pothos plant. They are so easy and can live just about anywhere. I added some art above from different moments in our life and some fun accessories that are just our vibe. If you get stuck, Pinterest has so much inspo to look at for this kind of thing.
Well, that's it! You did it! Thanks for following along and using this as a guide. I hope it was helpful and empowering. You can do this. You really can!
All my love,
Ashley